

![]() 1. Introduction
1. Introduction
This guide provides detailed step-by-step instructions on how to find and download the training dataset. The dataset consists of labeled images that help in identifying coronal holes on the sun. These labeled images are crucial for training AI/ML models to detect and analyze solar features.
By following this guide, you will learn:
- How to access the system.
- How to locate and download the training dataset for further use.
![]() 2. How to Log in to the Labeling Tool
2. How to Log in to the Labeling Tool
Before accessing the training dataset, you must first log into the labeling tool.
![]() 2.1 Accessing the Labeling Tool
2.1 Accessing the Labeling Tool

- To begin, go to:
https://classx.stcenter.net/ - This is the platform where the image labeling process takes place and where the datasets are stored.
![]() 2.2 Signing in to Your Account
2.2 Signing in to Your Account
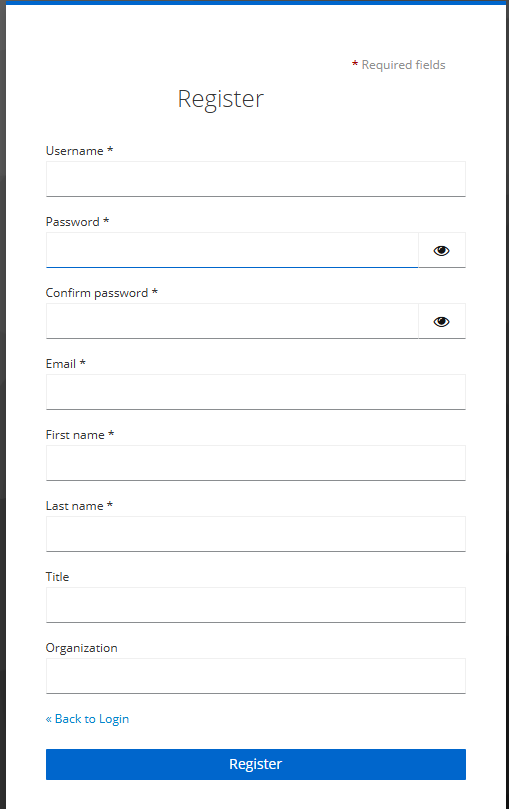
If you do not have an account, register first.
To create an account, go to the registration page and fill in the required details:
- Username
- Password & Confirm Password
- First Name & Last Name
- Title
- Organization
Click the Register button to create an account. Once registered, proceed to the login page.
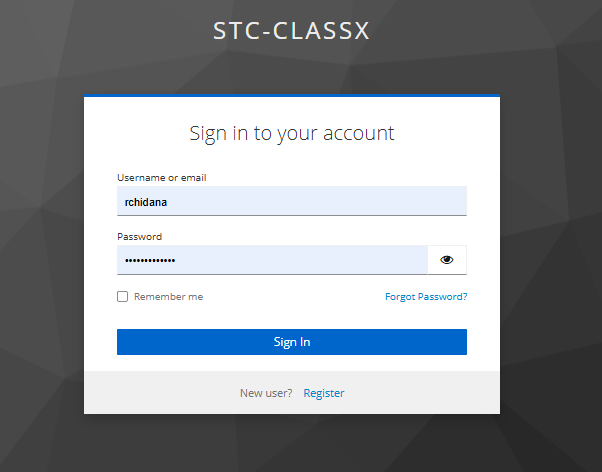
- On the ClassX login page, enter your username and password.
- Click Sign In to proceed.
![]() 2.3 Two-Factor Authentication
2.3 Two-Factor Authentication
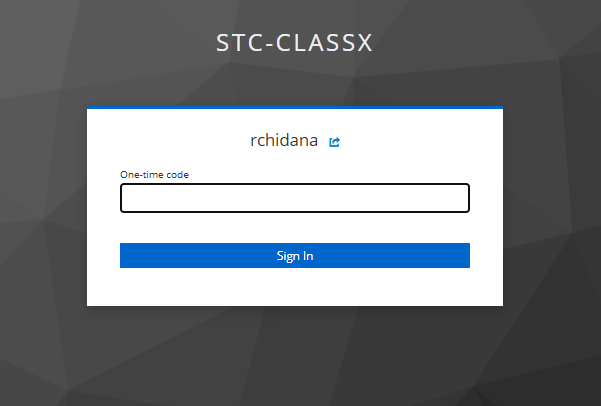
- For security purposes, you will need to complete two-factor authentication (2FA):
- Download FreeOTP application and scan the QR Code
- A verification code will be sent in the application
- Enter the verification code on the login page.
- Click Sign in to continue.
![]() 2.4 Selecting the Heliophysics Domain
2.4 Selecting the Heliophysics Domain
Once logged in:
- You will be asked to select a domain.
- Choose Heliophysics from the list of available research domains.
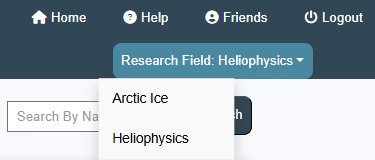
- This ensures that you access the correct dataset related to solar observations and coronal holes.
- Now that you are logged in, you can proceed to find and download the training dataset.
![]() 3. Finding and Downloading the Training Dataset
3. Finding and Downloading the Training Dataset
![]() 3.1 Finding the Training Dataset
3.1 Finding the Training Dataset
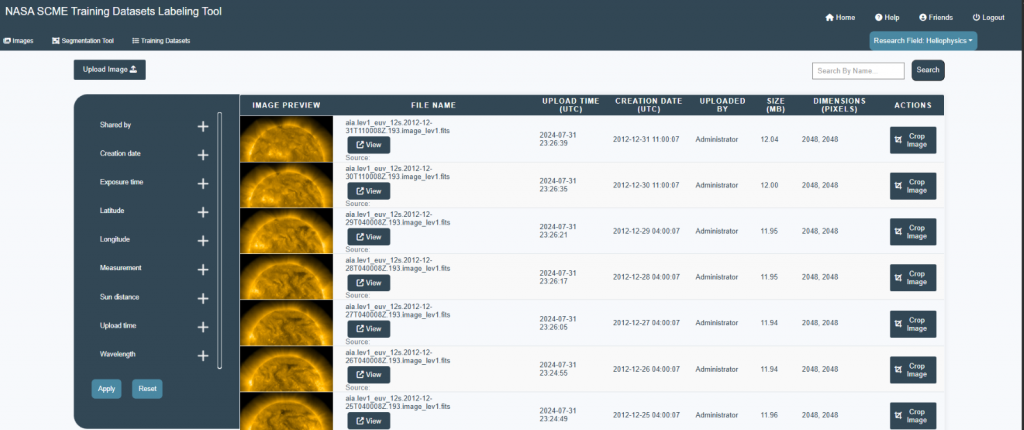
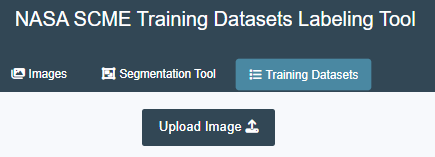
- Go to the Training Datasets section.
- You will see a list of files with names like:
- Dec_2012.h5
- Nov_2012.h5
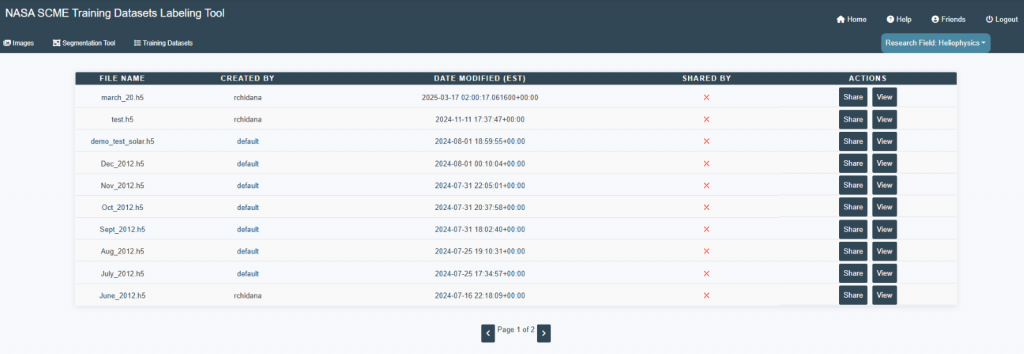
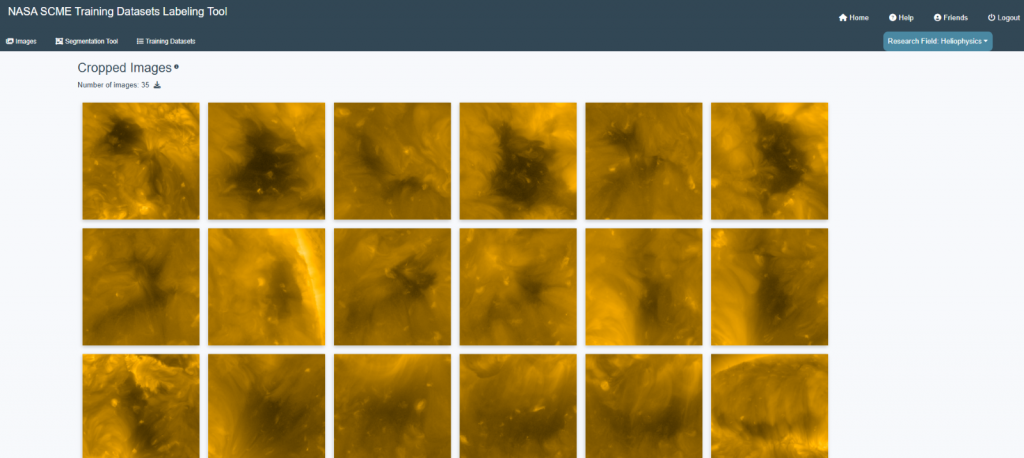
- Clicking on the view button allows you to see the cropped images.
- Clicking a cropped image in the Labeled Image View displays the labeled version alongside the original image.
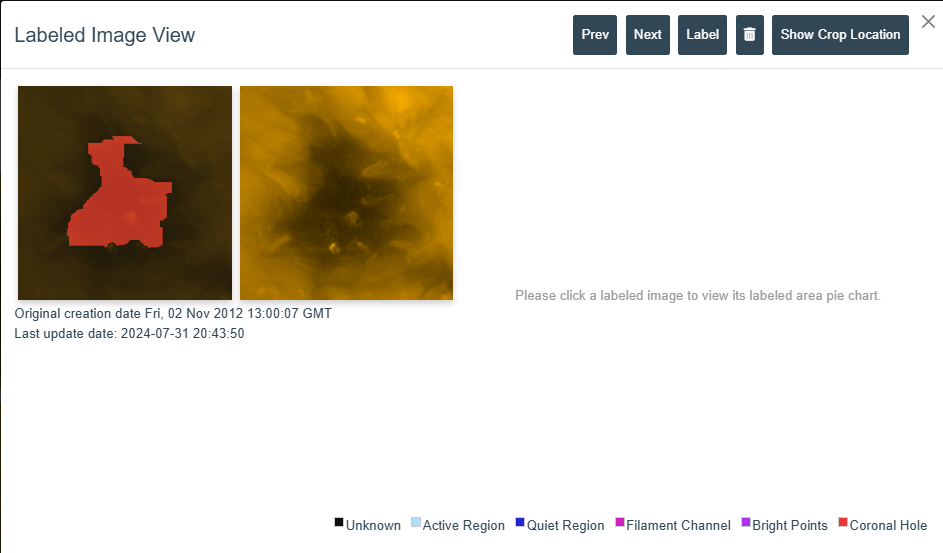
- The labeled image highlights regions that have been classified, such as coronal holes in red.
- Metadata details, including the original creation date and last update date, are displayed.
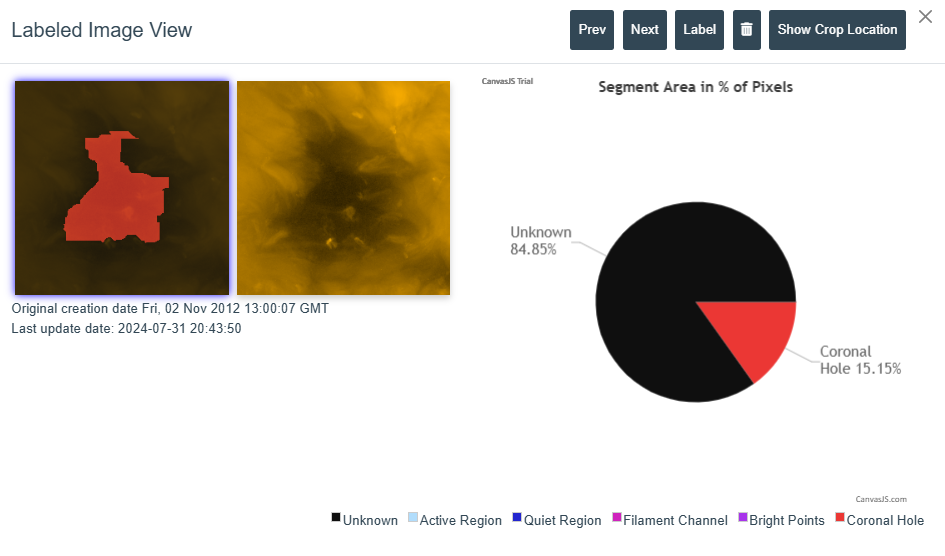
- A pie chart appears on clicking the labeled image, showing the percentage of labeled vs unlabeled areas in the image.
![]() 3.2 Downloading the Dataset
3.2 Downloading the Dataset
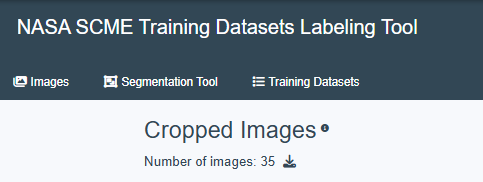
- Click on the view button as shown in 3.1 and click on the dataset you want to download.
- Cropped Images will be displayed, below that download button is available, click on it.
- A Dataset Download window will appear with options to customize the download settings.
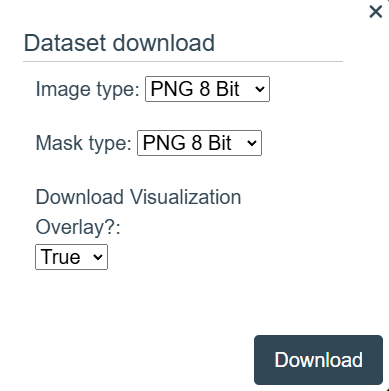
- Select the Image Type (e.g., PNG 8 Bit) from the dropdown menu.
- Select the Mask Type (e.g., PNG 8 Bit) from the dropdown menu.
- Choose whether to Download Visualization Overlay by selecting True or False from the dropdown menu.
- Click on the Download button to save the dataset to your computer.
- Wait for the download to complete, then locate the downloaded file in your system.
![]() 3.3 Checking the Downloaded Dataset
3.3 Checking the Downloaded Dataset
After downloading the dataset, it is important to verify that it contains all the necessary data.
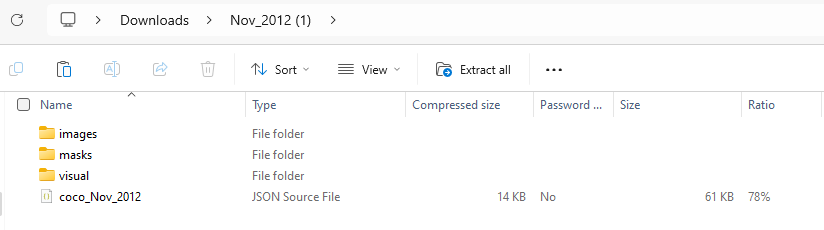
- Open the dataset Zip file from downloads.
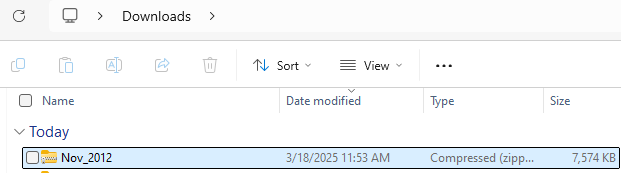
- Check that all datasets are included.
- Confirm that Json file is included
- If any issues are found, go back to the system and re-download the dataset.